Shoulder Arthroscopy: What to Expect Before, During, and After

Shoulder pain can severely impact your daily activities — from lifting your arm to reaching behind your back. Whether it’s due to a rotator cuff tear, impingement, labral injury, or frozen shoulder, shoulder arthroscopy offers a minimally invasive solution for both diagnosis and treatment.
At The Joint Replacement Centre by Dr. Mukund Agrawal, shoulder arthroscopy is performed with precision and care, helping patients recover faster and regain pain-free motion. But what exactly is shoulder arthroscopy, and what should you expect before, during, and after the procedure?
Let’s break it down step by step.
What Is Shoulder Arthroscopy?
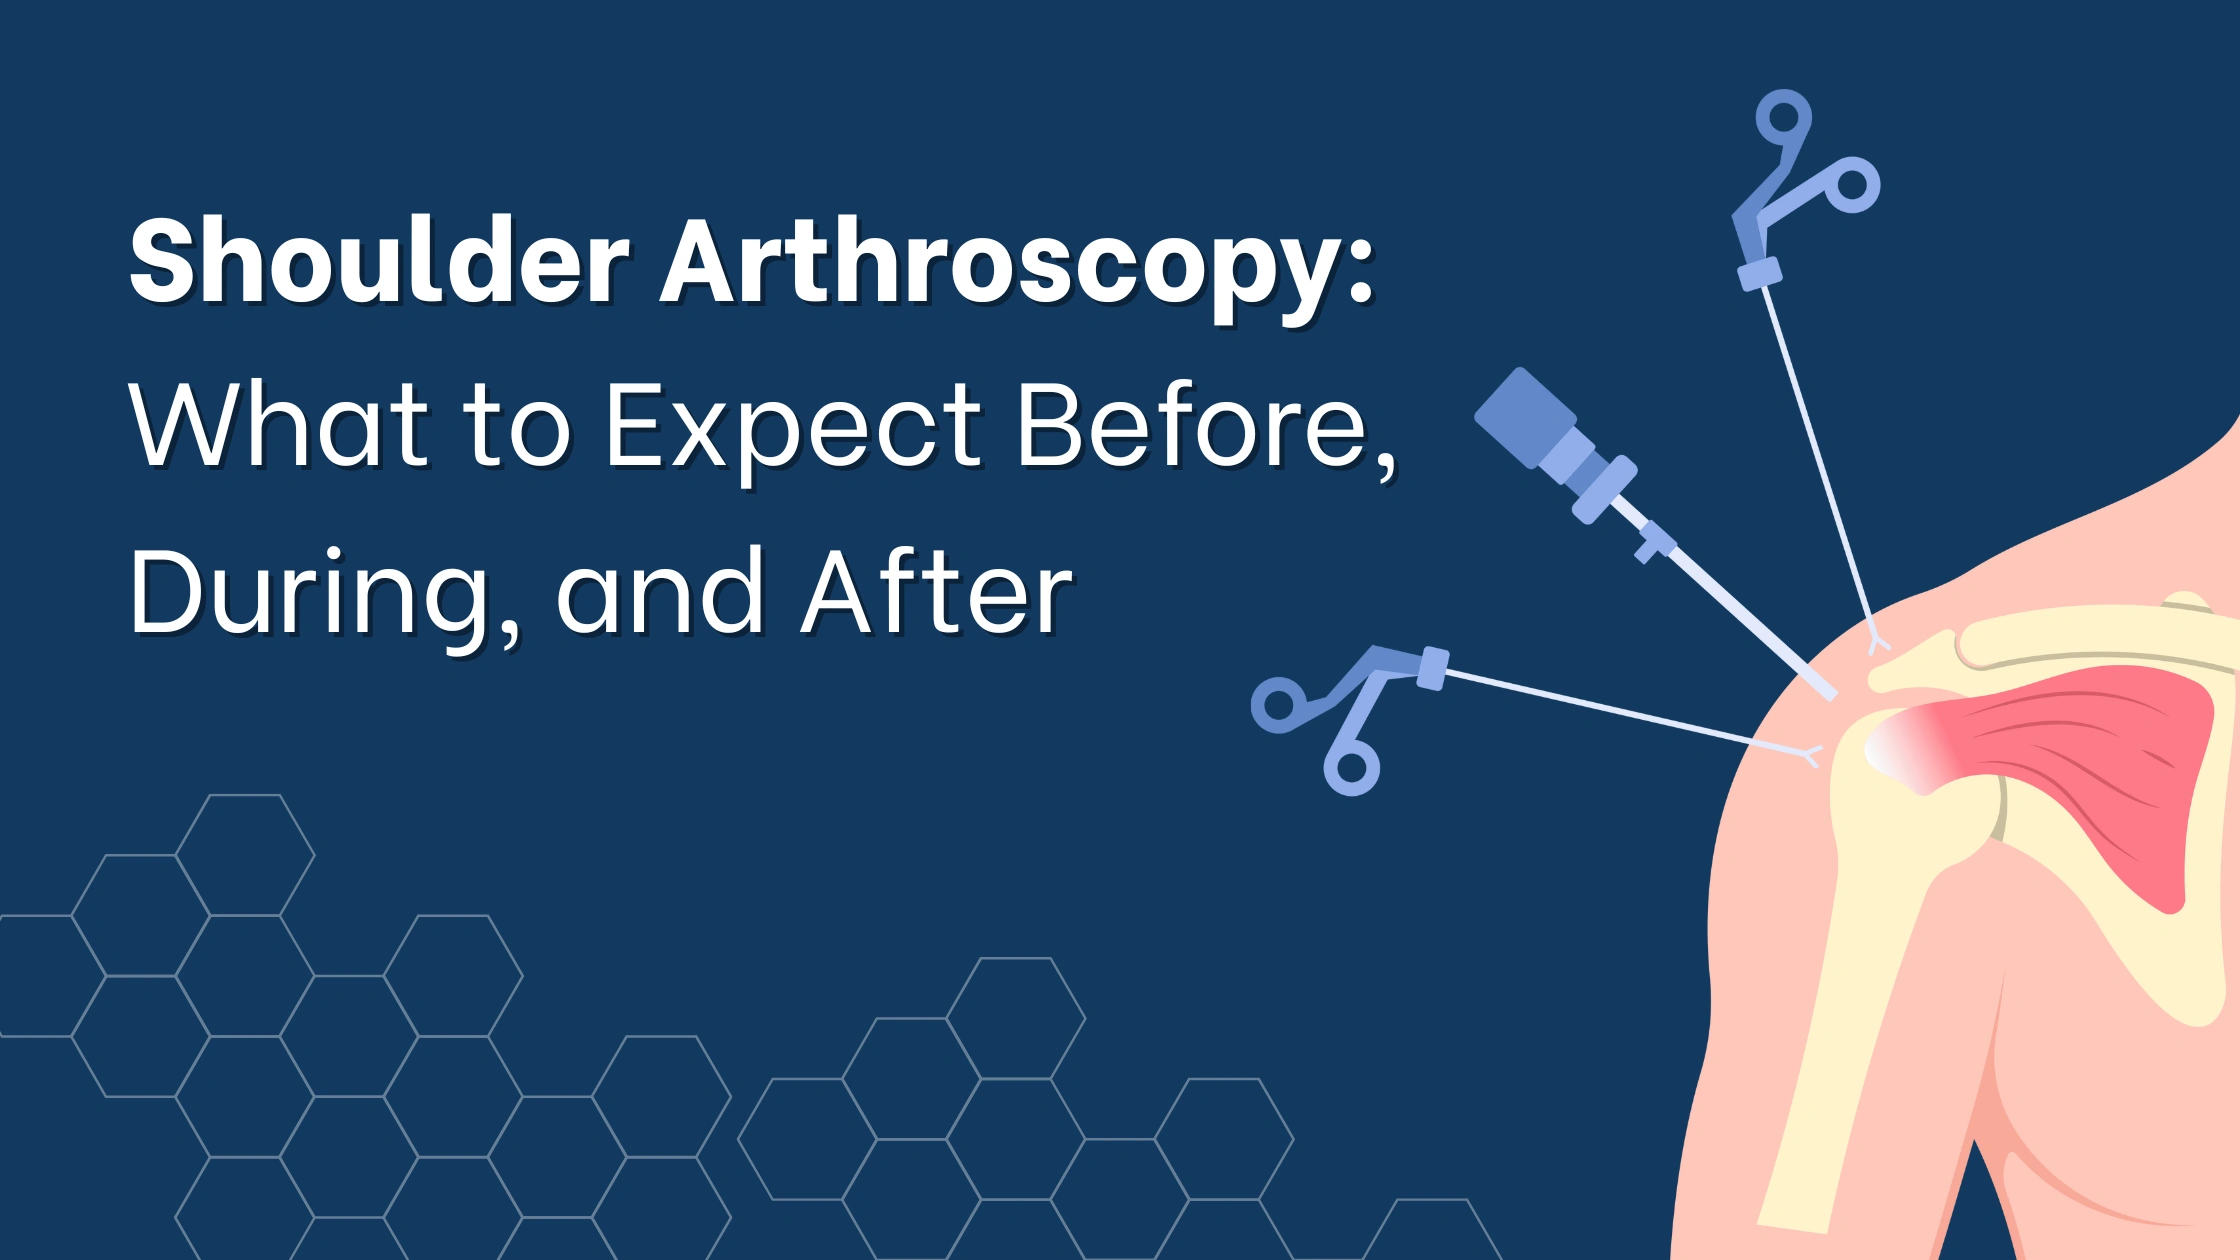
Shoulder arthroscopy is a minimally invasive surgical technique used to examine, diagnose, and treat various shoulder problems. It involves inserting a small camera (arthroscope) through tiny incisions in the skin to view the joint structures. The surgeon can then use fine instruments to perform the repair — all without opening up the shoulder.
Compared to open surgery, arthroscopy offers:
- Smaller incisions
- Less pain and scarring
- Faster recovery
- Lower risk of infection
It’s commonly used for:
- Rotator cuff repair
- Shoulder impingement syndrome
- Labral tears (SLAP lesions)
- Frozen shoulder release
- Shoulder instability
- Removal of loose bodies or bone spurs
Before the Procedure: Preparing for Arthroscopy
1. Consultation & Imaging
Your orthopedic surgeon will conduct a thorough physical examination and review your symptoms. Diagnostic tools such as X-rays, MRI, or ultrasound may be used to evaluate the extent of injury.
2. Medical Clearance
You may need a general health checkup, blood tests, ECG, or chest X-ray before surgery — especially if you have existing medical conditions like diabetes, hypertension, or heart issues.

3. Instructions Before Surgery
- Avoid eating or drinking anything for 6–8 hours before the procedure.
- Inform your doctor about medications you’re taking (especially blood thinners).
- Arrange someone to drive you home post-surgery.
4. Discussion with Your Surgeon
Dr. Mukund Agrawal ensures all patients understand:
- The reason for surgery
- Risks and benefits
- Expected outcomes
- Post-surgery rehabilitation plan
This reduces anxiety and builds confidence before entering the OT.
During the Procedure: What Happens in the OT?
Shoulder arthroscopy is typically performed under regional anesthesia (nerve block) with or without sedation. Here’s how it unfolds:
- Positioning: You’ll lie either on your side or in a semi-seated “beach chair” position to allow full access to the shoulder joint.
- Tiny Incisions: Small incisions (about 5–7 mm) are made to insert the arthroscope and surgical instruments.
- Visualization: The arthroscope transmits live video to a screen, giving your surgeon a clear view of the joint from the inside.
- Treatment: Based on the diagnosis, the surgeon will:
- Remove inflamed tissue or bone spurs
- Repair torn ligaments or tendons
- Reconstruct labral tears
- Release stiffness or adhesions in frozen shoulder
- Closure & Dressing: The incisions are closed with small sutures or surgical tape and covered with sterile bandages.
Duration: Most procedures take 30 to 90 minutes, depending on the complexity.
After the Procedure: Recovery & Rehabilitation
1. Post-Op Recovery Room
You’ll be monitored for a few hours as the anesthesia wears off. Mild pain, numbness, and swelling are common and manageable with medications.
2. Immobilization
Your arm will be in a sling to protect the repair and allow healing. The duration depends on the procedure — typically 2 to 6 weeks.
3. Pain Management
Pain is usually mild to moderate and improves within a few days. Ice packs, anti-inflammatory medications, and prescribed painkillers help relieve discomfort.
4. Physiotherapy
A personalized rehabilitation plan is crucial for full recovery:
- Phase 1 (0–2 weeks): Rest and gentle passive movement.
- Phase 2 (2–6 weeks): Regain range of motion.
- Phase 3 (6–12 weeks): Strengthening exercises.
- Phase 4 (3–6 months): Full functional recovery.
Dr. Mukund and his team closely monitor your progress and adjust therapy to match your recovery goals.
5. Follow-Up Appointments
Regular check-ups help assess healing, remove sutures, and ensure there are no complications like infection or stiffness.
When to Call the Doctor
Though complications are rare, seek medical attention if you experience:
- Fever or chills
- Excessive bleeding or discharge from incisions
- Persistent swelling or severe pain
- Numbness or tingling in fingers
Final Thoughts
Shoulder arthroscopy is a safe, effective solution for many shoulder conditions that don’t improve with non-surgical treatments. When performed by an experienced surgeon like Dr. Mukund Agrawal, the benefits of minimally invasive surgery — faster recovery, less pain, and improved shoulder function — become a reality.
If shoulder pain is affecting your quality of life, don’t wait. Schedule a consultation and discover if arthroscopy is the right solution for you.
